MULTIPLE EXPOSURE X TUTORIAL FOR CANON CAMERAS
Howdy! This tutorial is meant to teach you how to do multiple exposures in camera without the use of Adobe Photoshop.
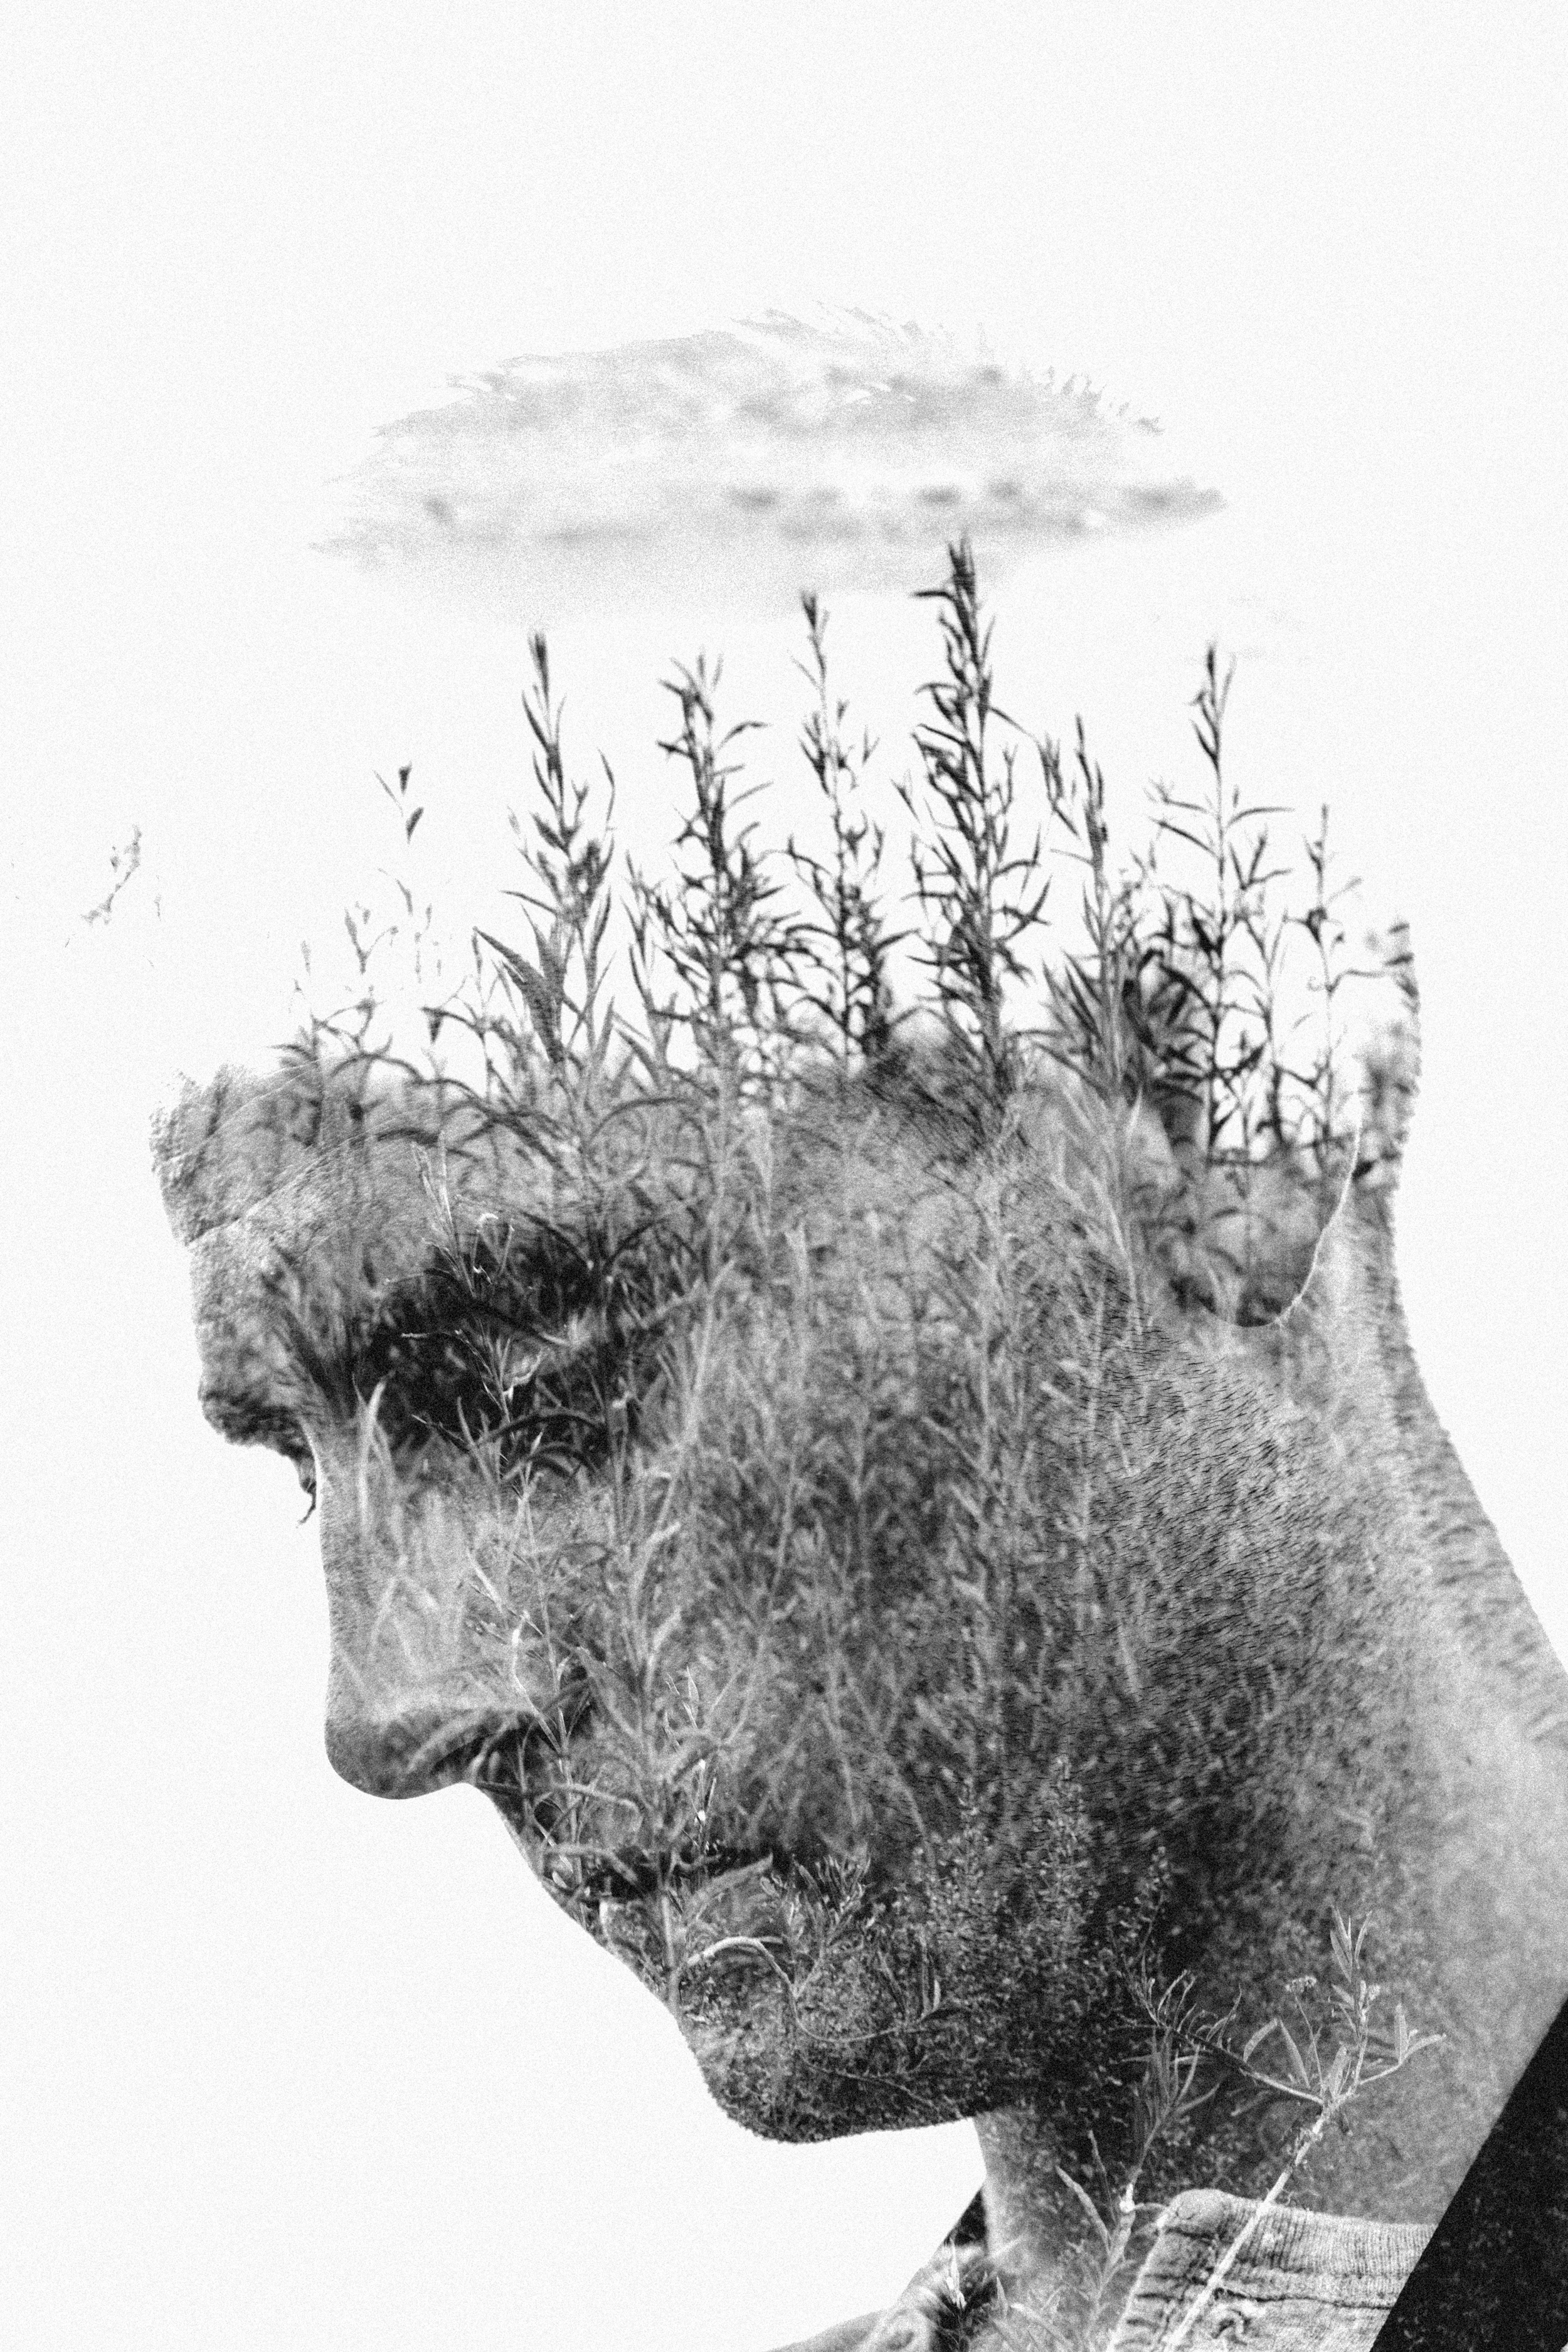
First let's tackle what a multiple exposure is; Originating from the era of film photography, it is a technique where you expose the same frame of film multiple times to create one combined image from multiple exposures. Digitally speaking, we have the satisfaction of immediately seeing what the end result is of our combined images, or multiple exposure.

The great thing about doing this in your digital camera is that you don't have to take your photos consecutively. This means that if you're strapped for time, you can take a few portraits/silhouettes of your subjects and experiment with whatever you choose to be your overlaying image later. More importantly, the fundamental principle of scoring a great looking multiple exposure is that you should always have a base image to work with. Don't be discouraged if you don't nail it right away, it takes a lot of experimenting and figuring out what works and what doesn't.


At this point you're probably thinking..."OKAY. I GOT IT. ROGER THAT JOHNNY. YES. NOW HOW DO I DO THIS?" As a disclaimer, since I am a Canon shooter, I can only explain how to do this through navigating the canon menus. You can make this happen for the following models: 70D, 80D, 6D, and 5D Mk. III. However, with how crazy digital cameras are today, I'm sure there are downloadable apps out there for your camera.
Click on the menu button and scroll over to the "red" accented menus where it gives you the option to change the picture style. If you look at the bottom of the menu, there will be an option for "multiple exposure: disable". If it's grayed out, ensure that your camera's WiFi capabilities are disabled or you will not be able to continue. If you had that issue, return to the multiple exposure feature and it will bring you to a new menu once you've selected it.

The following menu should look like this:
Multiple Exposure: Disable, On:Func/Ctrl, On:ContShtng
On:Func/Ctrl: Allows you to pick a base image before continuing.
On:ContShtng: Allows you to composite subjects in movement or action.
Multi-Expos Ctrl: Additive, Average, Bright, Dark
These are the options that determine how or what is composited to create your multiple exposure.
Additive records light meaning that each exposure is cumulatively added to create the single image. Note: With Additive, you'll want to employ underexposure to compensate for each image to add up to a correctly exposed image.
Average compensates for light and averages it out, the amount of underexposure is determined by the number of images you're combining. This option is good for subjects with movement.
Bright is meant for night time as only the bright spots are composited.
Dark composites the dark parts of an image while keeping the brighter parts suppressed.

No. of Exposures
You can combine from 2 to 9 images to create you multiple exposure. I generally stick to 2 exposures, but I encourage you all to experiment and be creative! You never know what amazing image you might end up with!
Continue Mult-Exp
You have two options: 1 Shot Only, and Continuously. The latter option simply makes it so that you'll have to disable the multiple exposure feature to return to single image exposures.
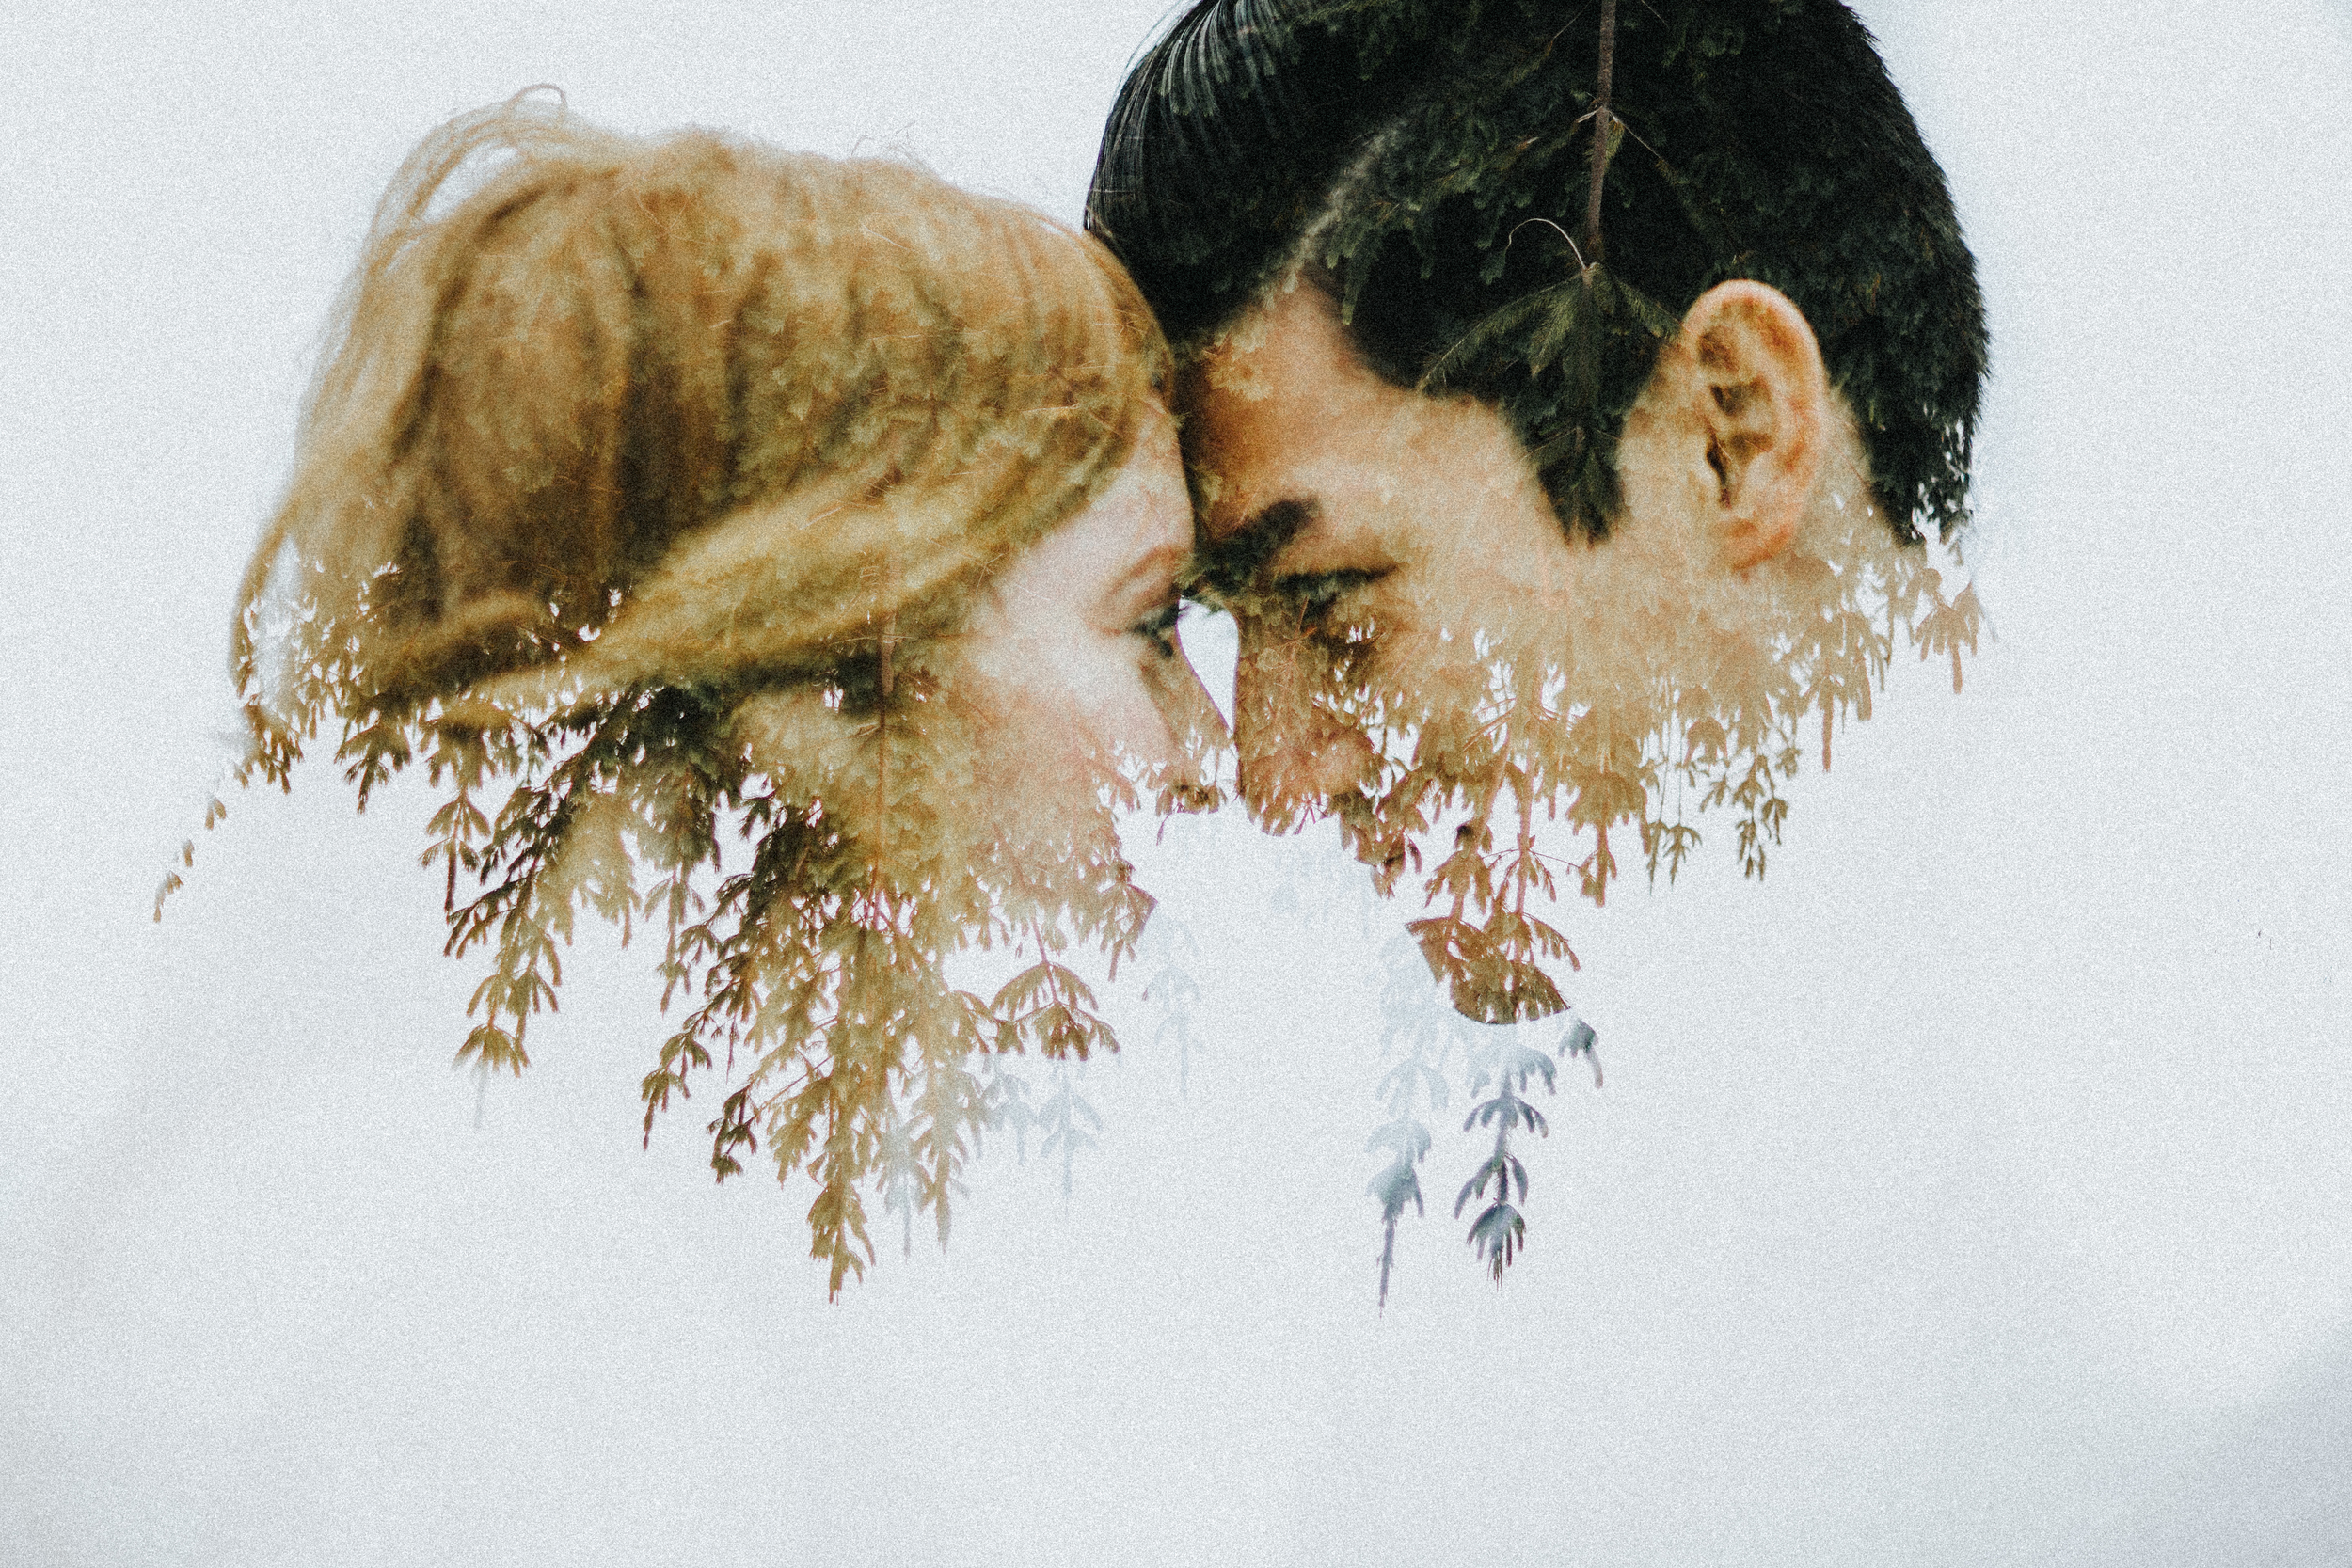
Now that you know how to enable the feature, the key to creating a great multiple exposure is subject isolation or the silhouetting of your subjects for your base image. The settings I generally find myself using most are: On: Func/Ctrl with Additive. Use the sky to your advantage! Once you've got that down, you'll notice that the second image you take will fill the dark areas from the first image.
NOW GO OUT & SHOOT BUT BEFORE YOU DO... ONE MORE THING...
Shoot in LiveView mode, you'll see the exposures combined before you commit to snapping, how easy is that? Enjoy!